tool and hardware organization
It is that time of year again where we start talking about all things garage design + organization. While home improvement projects have a year round presence, their prevalence definitely ramps up in the warmer months.
Start with your categories
Everyone‘s starting place will be similar, but not the same. We all have different projects we work on that require different tools. The common place that we can all start is taking time to make our categories. Sorting everything from the start is a major key to overall organizing success. Try to pick some bigger and broader categories to start, such as hand tools, larger equipment, hardware, paint, automotive, etc. From there it will be much easier to identify what your subcategories will be. Don’t forget to give your items a good hard look to see if any of these items need to be parted with or replaced.
Here are some subcategory ideas to get you started
Paint: Try separating your paint into new and used, and from there breaking it down into categories such as interior, exterior, color, or finish.
Hardware: Try separating your hardware into categories such as fasteners (being mindful to further delineate into piles such as screws, nails, staples, etc.). Drill bits and pieces, items like hinges, knobs, cabinet pulls or hooks.
Hand tools: Separate items out such as screw drivers, hammers, wrenches, pliers, cutting tools, staple guns, power drills, saws and more.
time to assess the space
Once you have established all of your categories, and have thoughtfully gotten rid of pieces that are no longer necessary, it is time to assess the space you are working with. Are you setting your tool organization up in your garage, basement, or tool shed? What is the footprint of the space you are working with? How high are the ceilings? What type of walls do you have? Are you able to mount things or do you need freestanding shelves? These are all important questions to ask and consider before moving forward.
Drywall walls
If the space you are working with has drywall walls, you have a lot more options for organizational methods to proceed with, especially if you rent, as it is much easier to patch and return to previously unaltered condition than something like brick or concrete.
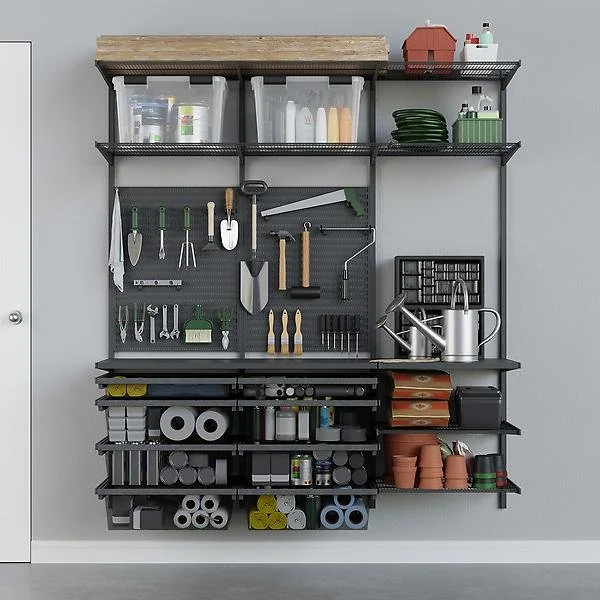
It is no secret around tmm that we will jump at any chance to use an ELFA system. Every. Single. Time. This is for a variety of reasons, but ease of installation, customization options, and price point being at the forefront, not to mention we find them aesthetically pleasing and malleable. On the ELFA systems you can have hanging boards, pegs, drawers, cubbies, shelves, you name it, they’ve got it.
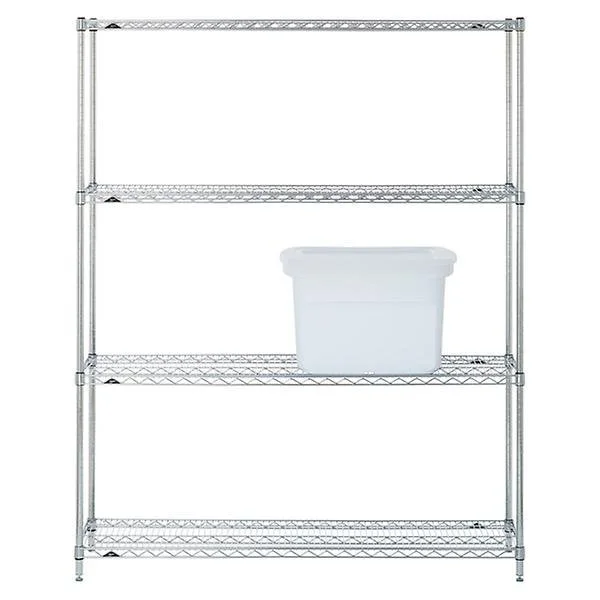
Other options outside of ELFA systems worth considering are standard wall mount shelving units to coincide with base cabinets or shelves. Pegboards have been a tried and true favorite of many garage organization projects.
Brick or concrete walls
If you are working with brick or concrete walls, you do still have options for wall mounting storage solutions, however the task can be much more difficult and if you are a renter, not as rental friendly as these can be much harder to repair. For this reason, we recommend pursuing more freestanding options for organization.
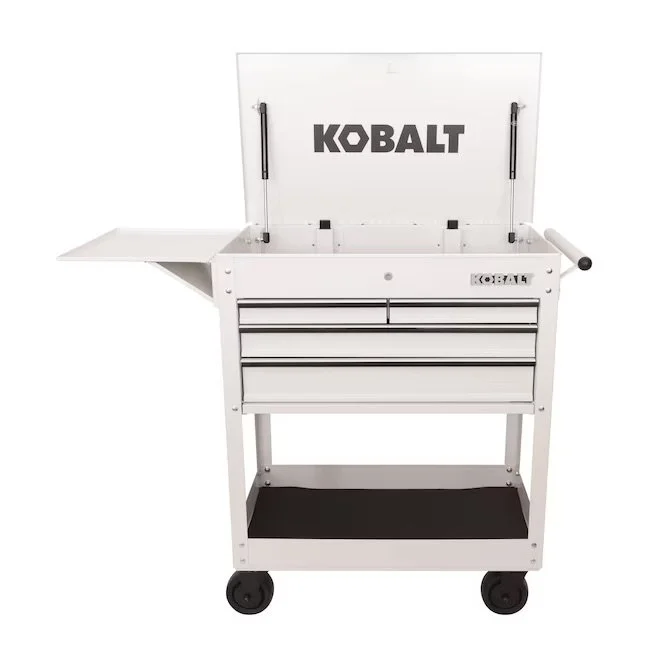
You could go with the classic work bench/table and tool chest. These free standing elements allow for customization of drawers organization, baskets and bins, and you could even attach a shelving unit to the top of your work table to maximize height.
There are a whole host of mobile freestanding cabinet and shelving options that come with their own organization systems as well. Some of these storage solutions have lockable wheels that allow you to bring the storage to where you are working which depending on the project can definitely come in handy.
Pick your smaller storage solutions
Once you have sorted through your materials and picked the larger storage systems that you will be using, it’s time to pick your smaller storage solutions. These items will vary a bit based on the larger system you chose. If you went with an ELFA or other standard wall mounted shelving system that is primarily open floating shelves you will likely need bins and baskets that feel appropriate for each of your item categories.
If you chose a cabinet or drawer system you have the option to get boxes, tray organizers, or simply just put dividers in the drawers that give you the amount of space you are looking for per item.
For larger items like hand tools, baskets or sturdy bins are definitely recommended. These storage solutions help declutter open countertops and reduce visual overwhelm and can also be labeled for ease of access.
For the smaller materials such as fasteners and drawer pulls knobs, smaller containers with securely closing lids will be your friend, no one wants to be in a position where slippery hands lands 400 nails all across the garage floor! These smaller containers also provide more options for storage placement. They can be labeled and go inside of labeled drawers, on shelves, or even into a larger bin. For instance you could organize screws and nails by type/purpose, put them in their own labeled containers, and then put them into large bins with a broader category label.
PAINT STORAGE
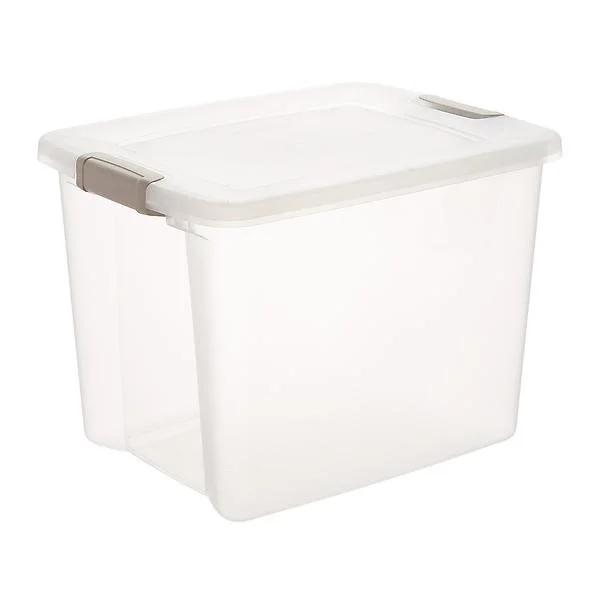
Depending on how much paint you have, figuring out storage can feel easy breezy, or like a big headache. Paint is notoriously messy, with drips down the sides of cans, and if not carefully sealed, the looming concern of spillage. In our opinion it is definitely better to err on the side of caution when it comes to storing these materials and opt of storage in easily cleanable bins or on wipeable shelving, preferable something that is a solid surface, so that if a spill were to occur it would be contained to that storage element, and wouldn’t go dripping through the gaps in a wire shelf, and potentially damage items below. While we aren’t the biggest plastic fans, this is where plastic totes or a solid plastic shelf liner can be extremely useful.

